20’ automated Turntable
Design
In 2016 after multiple conversations with our Artistic Director, we decided we wanted to have a 20’ automated turntable in our stock. I was able to get all of the automation equipment donated to us by a local automation company in town named Automation Solutions Inc. at an estimated value of $25,000. With the time constraints, labor, and budget we had available, I decided on a wooden 2x4 frame. The turntable was divided into 8 pie pieces to make it easier to store as well as to load in and out. The center of the turntable was built as a separate piece to allow the 8 pie pieces to bolt into the center-point. Each pie piece has 2 coffin locks to let the pie pieces attach to each other.
I worked with the automation company on how we needed the motor to function. We decided a spring loaded friction drive motor would be the best way to make the turntable work the same way every time we used it.
The mechanical design was done by a friend of the theatre named Brad Tompkins of Automation Solutions Inc. in Birmingham, AL
Construction
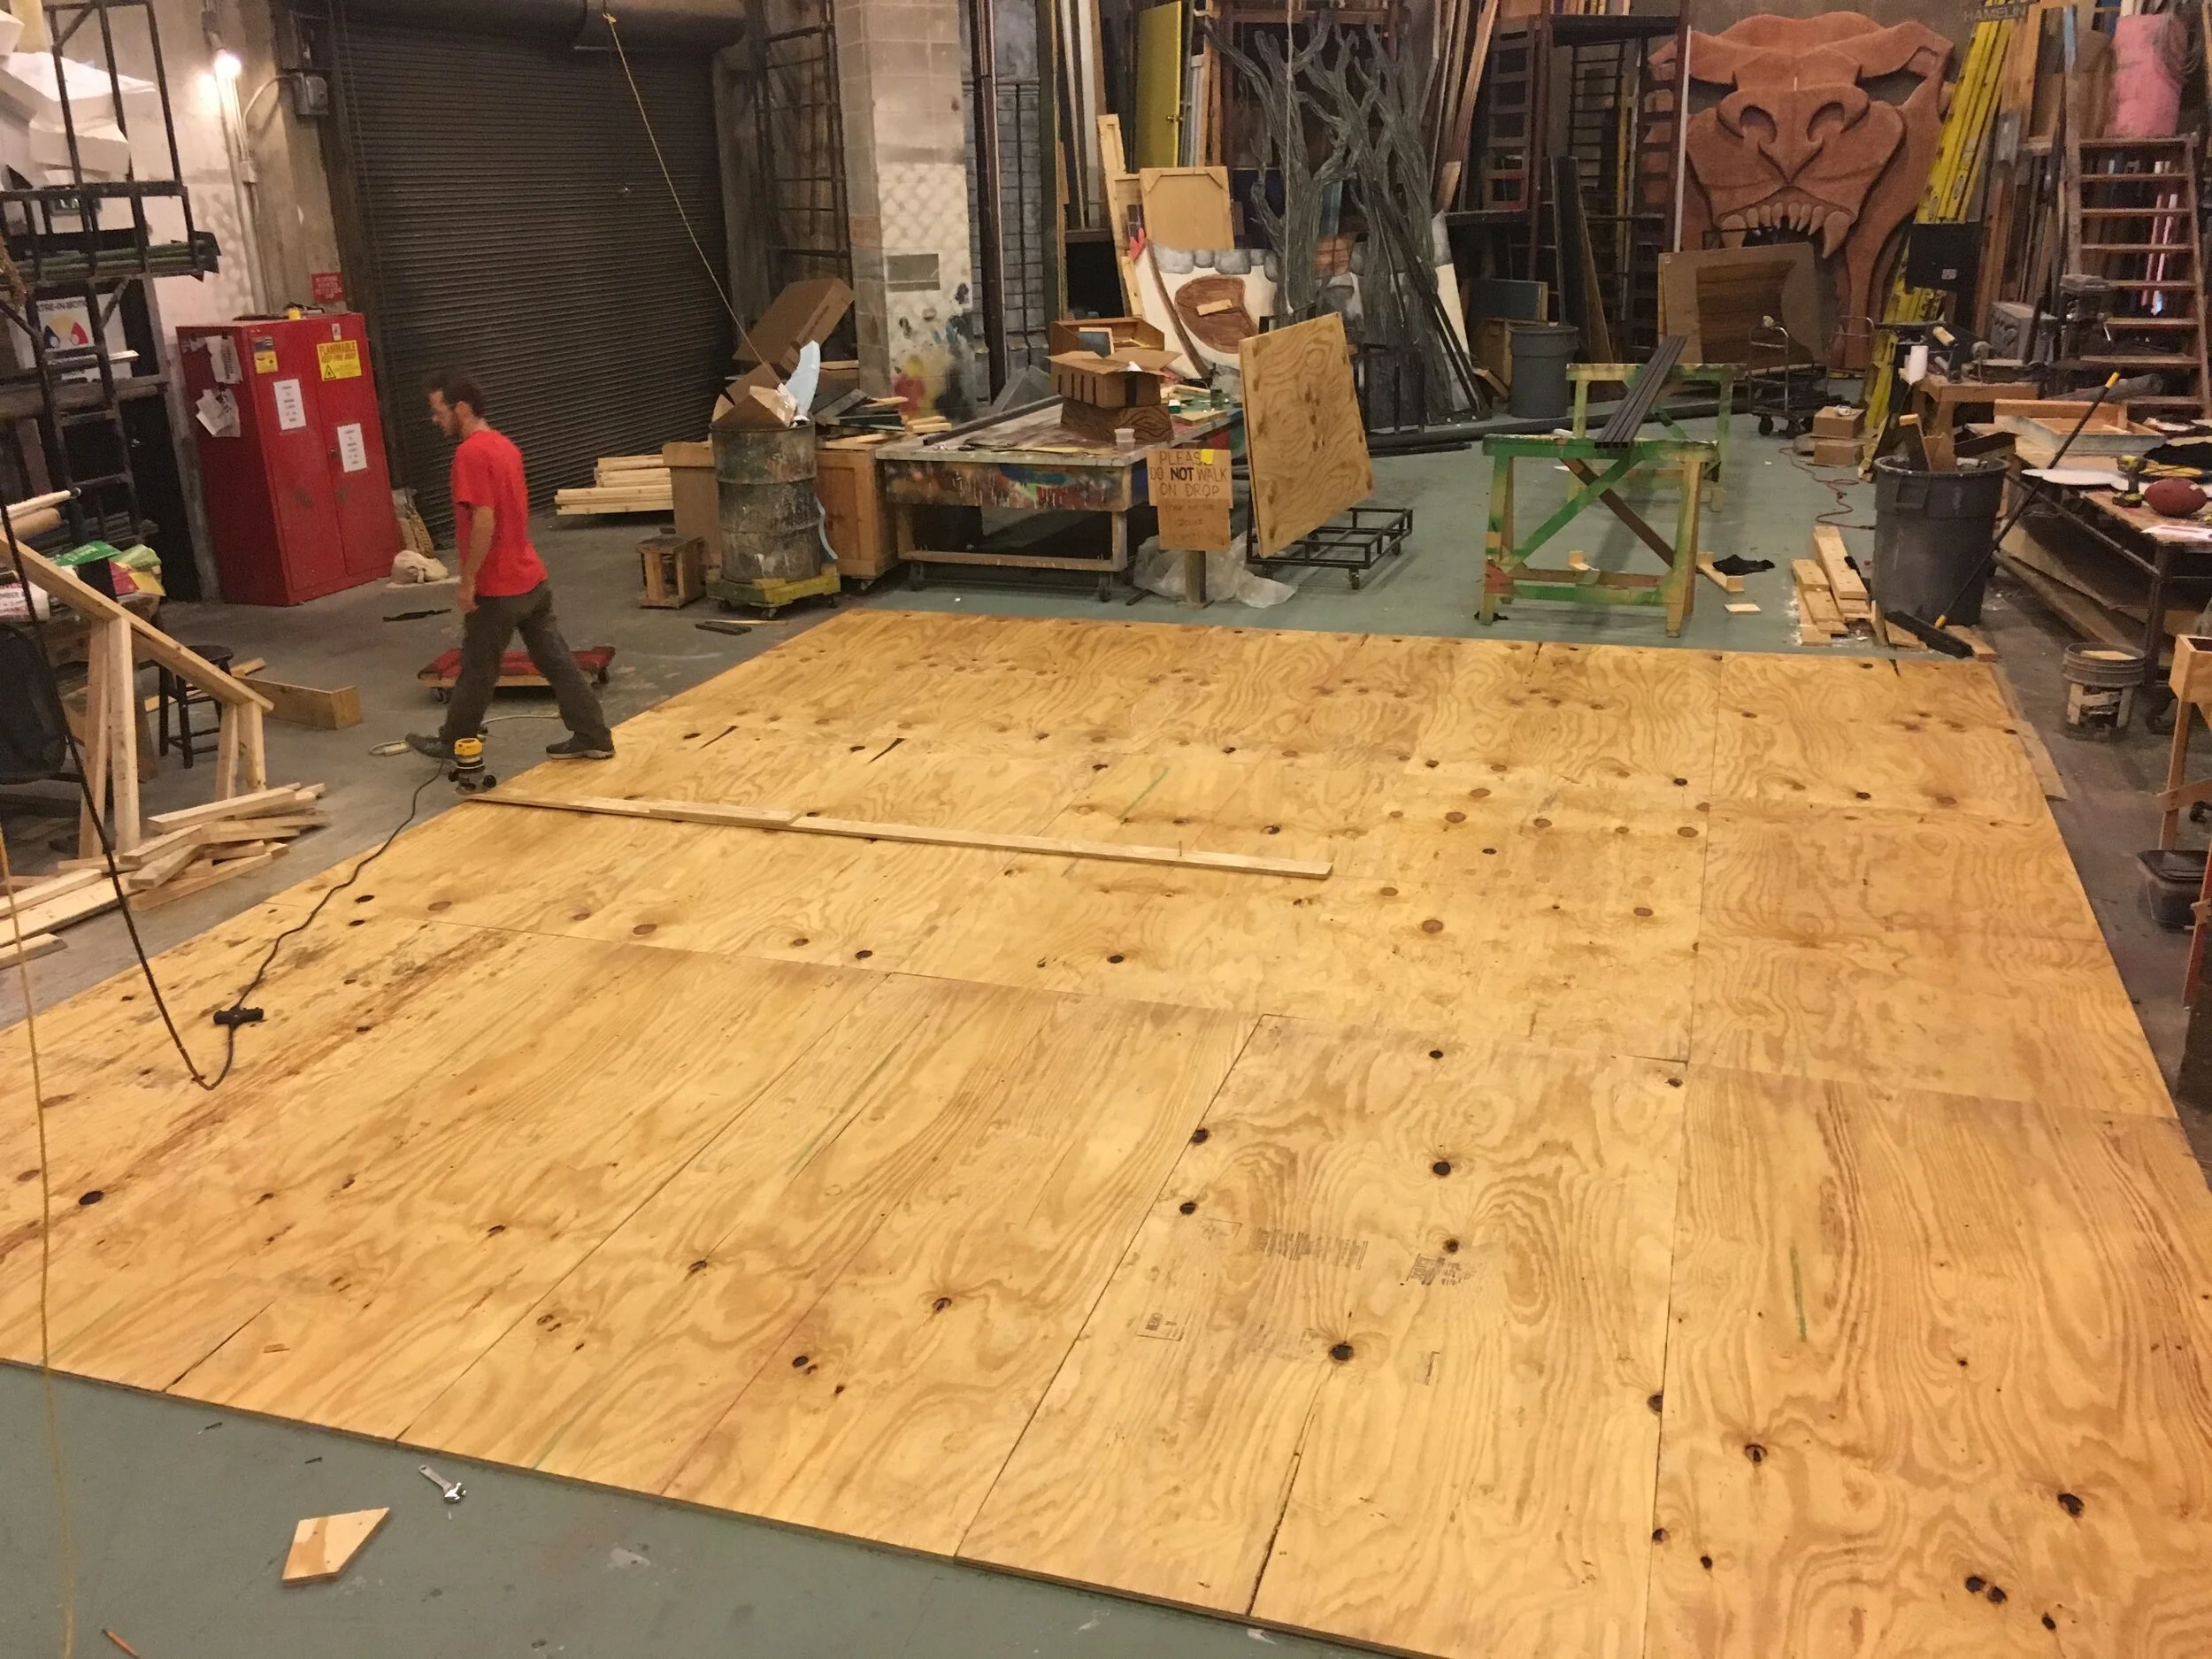
Laying out the plywood and prepping the router with a circle jig to cut out our ply top.
Completed ply top cut out with the router on a circle jig.
Framing out of 2x4 completed.
Casters installed on 2x4s spaced every 2’ to make sure that the turntable runs as smooth as possible.
Masonite top attached and coffin locks installed.
Center point built and bolted to the 8 individual pie pieces.
Friction Drive Motor
Frame for the motor being built.
Completed Friction Drive Motor.
One thing I worked out with Automation Solutions was that I thought that the motor needed to be spring loaded so that as the platform was turning there was always constant pressure being applied to the platform to make sure that we didn’t have any issues with the motor losing contact with the platform as it was turning. Because of that conversation they were able to make sure that it was spring loaded to solve that potential issue.
COntrol Panel and interface
Automation Solutions custom built and designed the control panel as well as the interface for being able to record movements or “cues” for us. This was an integral part of the design that was extremely beneficial for us. They made it very user friendly so that we could have a stagehand or a Stage Manager run it if needed.
The User Interface.
The internal components inside of the control panel.


